

It’s not too far a stretch to think that when you take photos, you’re drawing with light. After all, the word "photography" was created from the Greek roots φωτός (phōtos) or "light" and γραφή (graphé) "representation by means of lines" or "drawing.” Aside from illuminating the world around us, light is an essential component in the art of photography. It’s been a little while since the word was coined, but it’s not hard to conceive of all the ways the world has changed since then. From reading books by lamplight to watching movies under the flicker of a projector, we’re well beyond the days of having to go to bed when the sun goes down. Photographers most widely utilise the light of the sun (it’s free and beautiful, why wouldn’t ya?!), but as with most wild things is highly unpredictable. Us problem-solving humans have worked ways around the ever-flowing movements of light and come up with things like flashes so we can take photos in variable lighting scenarios but boyyyy oh boy can it get complicated introducing different sources of light into the frame and utilizing all of the tools properly.
Creating favourable lighting situations is the key to incredible images. Let’s talk about how to do that.

Utilise the Environment Around You
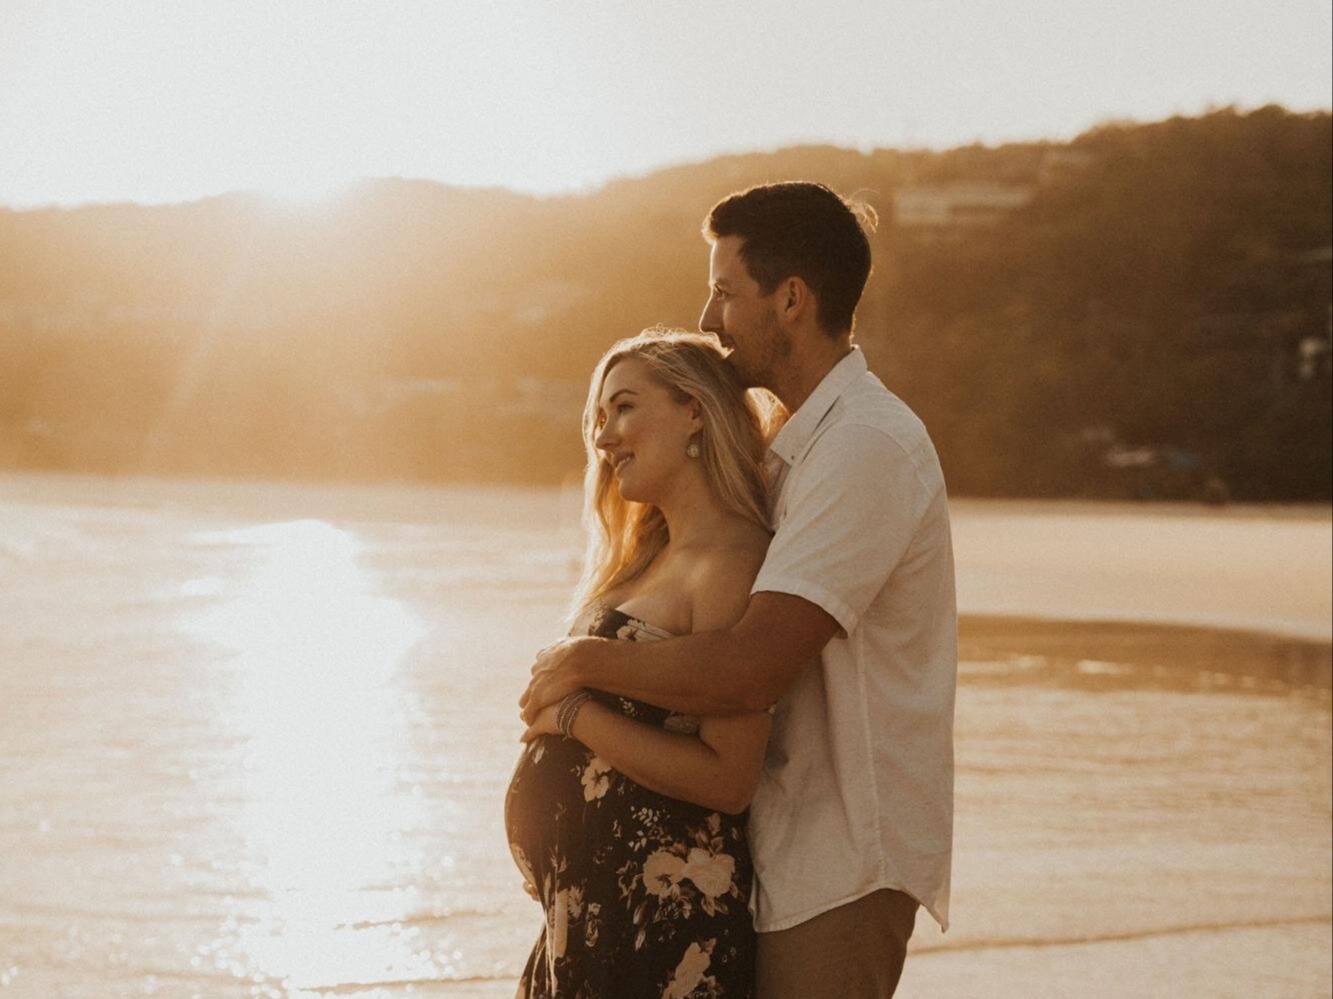
Our love for the sun is undoubtedly complex at this stage in our careers, its light is everything to us and we’re painfully aware that it has the power to make or break any of our shots. Use the Sun Tracker to know the exact parameters of Golden Hour or Blue Hour so you can avail of the way light gets diffused through the atmosphere before it lands on your subjects.

Think outside the box, and you’ll find that diffusers come in many shapes and sizes. Curtains or branches or clouds can function to soften the powerful rays of the sun, yielding softer, more amicable light.

Sometimes when the stars align, we get dream conditions that provide a nice and even tone across our subjects. But despite how much more room you have to play on an overcast day, there are still tricks to remember to make the most of the conditions available to you. The subtlety in difference between front light, side light, and back light can be hard to perceive. When it’s overcast, shadows on the skin can tend to look murky. In overcast light, front-lit subjects look luminous. Before you start issuing really convoluted directions about where you’d like your subjects to stand, hold your hand up to the light and see how it falls. Are there shadows between your fingers? Is there a colour reflected in the highlights? It can take a bit of practice to get your eye in, but once you learn to tune into the slight changes of light, your photos will be in an entirely different league.

Take into account the whole picture
Drawing the viewer’s eye to the subject of a portrait is the most essential part of creating a compelling image. If the background is too distracting, it can really detract from the potency of the image. Find contrast wherever possible - if the subject is bright, shoot them against a dark background. Do what you can to center your subject. Tools like contrast, colour, and focus can be really helpful here. But there’s not much sense in agonising over getting the perfect light on your subject if you’re only going to ruin it by having a blown out background or a sun flare obscuring their right eye (lens hoods are your friend!). Beautiful light is just as important in the background as it is in the foreground. It doesn’t matter how well you’ve lit your subject if the light in the background is too dark, or muddy, or blown out. Usually the fallout from an oversight of this nature boils down to the amount of time you’re tethered to your edits in the post-processing studio, and ooft, is this a difficult lesson to have to learn more than once.

Stay out of the blazing midday sun (wherever possible)
We get it -- sometimes it’s not possible to be the dictator of all schedules. Sometimes you find yourself shooting at noon, and yuck, having to make people look good with a squint and shadows under their eyes can be a real sticking point. Wherever possible, find even light. The shade of trees, awnings, or shadowed sides of buildings are all viable candidates for cutting out that harsh midday contrast and giving you that nice even light. It’s tricky striking the perfect balance between even and flat light, but keeping in mind where your light source is coming from and using reflected light to create contrast will help you to maintain dimension in your shots. And although auto white balance sometimes glitches out in open shade, you can manually set the white balance to compensate. Not sure what to set it to? Refer to our Camera Settings Guide for a list of settings to help you nail any lighting scenario. Even full sun.

Demystifying flash
A common misconception about using supplemental light sources is that you need big, complicated pieces of equipment to get the job done. And as beautiful as natural light is, using a flash can enable you to get quality results in a much wider variety of lighting conditions. In some cases, it’s actually easier and less labour intensive once you get used to them. If you’ve avoided flash photography all this time because every time you use flash it just reeks of all of those old cringe-worthy photos deep in the Facebook archives of you at the club, we don’t blame you! But good flash photography doesn’t look like flash photography. Here are some basic concepts to help you take flash photos you genuinely enjoy looking at.
Diffuse
A big part of learning to love the flash is to make the light of the flash less… flashy. The best way to do this is to get a diffuser to stick over the flash and make the surface of the flash big enough so that the light has a chance to soften and spread out
Bounce
Either redirecting the light to bounce it off another surface like the ceiling, or physically moving the flash off camera can change the quality of the light quite drastically. If you’re bouncing the light, remember that the light will take on the colour of the surface you bounce it off of.
Manual
Just like learning the ropes with manual exposure on your camera, learning manual flash gives more creative control over your images by adjusting the light to be brighter or darker. Have a little play with the settings and let trial and error lead you in the right direction. The best thing about shooting digital is that you can see the images instantly and adjust accordingly.
The flash, when used properly, is a bit of a revelation. One of the most ubiquitous photography accessories out there, it’ll help you take damn good photos once you get past the initial growing pains.
Low light scenarios
Shooting with limited light comes with its own unique set of challenges. What to do? Bump the ISO up and get a bit more grain? Slow down the shutter and turn your subject into a blur? Use a flash? A tripod? The options alone can have you questioning why you brought your camera out after dusk in the first place.
As a rule of thumb, use a tripod for shutter speeds lower than 1/60th of a second. But if you’re shooting kids or a couple running into the sunset, you’ll need a quicker shutter speed than that. Using a wide aperture can compensate for faster shutter speeds, and shooting at f/1.4 should give you some leeway at dusk. Get familiar with your camera and figure out how high you can raise your ISO before the images start looking a little muddy. And don’t forget to shoot in RAW! It gives you lots of flexibility when it comes to editing your image, so you can bump it up a couple of stops without sacrificing too much quality. There will always be a tradeoff between a high ISO and blur from slower shutter speed, but knowing your gear will help you navigate this dilemma without too much stress. And if you need, our camera settings guide is here for you to give you quick tips on how to set your camera to suit the lighting perfectly

Without light, there would be no photograph. No brightness, texture, tone, or atmosphere. To learn to control and manipulate light provides a path to taking a better photo. To learn to notice and love light helps us tell a better story.
Recap
-Use the light in the environment around you. Diffusers come in many shapes and sizes!
-Know what you’re working with - plan your shoot keeping the angle of the sun in mind!
-Dial in your camera settings and practice!

coffee a week. Use code:
lead your photography
sessions with confidence.


FAQs
What is the most flattering light for portrait photography?
What ISO should you use when shooting indoor portraits without flash?
What can be used as a diffuser for photography?